
If you’re looking to reduce your dependence on Google Drive but find solutions like Nextcloud or commercial services unnecessarily complex for your needs, File Browser might be exactly what you’re looking for. This lightweight, web-based file manager provides a clean interface for uploading, organizing, and sharing files without the overhead of a full-featured cloud storage platform.
File Browser is particularly well-suited for users who need occasional cloud storage for temporary file sharing or maintaining accessible copies of some documents, rather than comprehensive synchronization and collaboration features. While the project is currently in maintenance-only mode with limited active development, it remains a solid, stable solution for simple cloud storage needs. The core functionality is mature and reliable, making it an excellent choice when you don’t need cutting-edge features.
When deployed on your own Dokku instance, you get the privacy and control of self-hosting with minimal resource requirements and maintenance overhead. In this guide, we’ll walk through deploying File Browser (v2.41.0) on a Dokku (v0.36.0) server, giving you a simple, self-hosted alternative that handles the basics of cloud file storage without unnecessary complexity. By the end, you’ll have a personal file sharing solution that you fully control, accessible from anywhere with a web browser.
Prerequisites Link to heading
Before we begin, you’ll need the following in place:
Dokku Instance Link to heading
This guide assumes you already have a working Dokku instance deployed and accessible. I won’t cover the Dokku installation process itself, but if you need to set up Dokku, the project provides excellent installation documentation. You’ll find general installation instructions as well as specific guides for popular platforms including Microsoft Azure, Debian-based systems, Digital Ocean, Docker, DreamHost Cloud Server, and Vagrant.
Dokku is an extensible, open source Platform–as–a–Service that runs on a single server of your choice. Dokku supports building apps on the fly from a git push via either Dockerfile or by auto-detecting the language with Buildpacks, and then starts containers based on your built image. Using technologies such as nginx and cron, Web processes are automatically routed to, while background processes and automated cron tasks are also managed by Dokku.
Storage Space Link to heading
Ensure you have adequate disk space for your intended file storage needs. By default, File Browser will store uploaded files directly on the server’s filesystem. Calculate your expected usage and verify you have sufficient free space on your server. Alternatively, if you anticipate storing larger amounts of data or want to separate your file storage from the main system disk, consider adding an additional storage volume to your server specifically for File Browser files. Either way, account for both your immediate needs and potential growth - if you plan to store several gigabytes of documents and files, ensure you have that capacity plus some buffer for the operating system and other services.
Installation on Dokku server Link to heading
Create a new filebrowser app: Link to heading
dokku apps:create filebrowser
Setup the storage Link to heading
We configure persistent storage on the server’s filesystem to ensure uploaded files survive container restarts. File Browser uses three main directories: /srv for uploaded files, /database for the application database, and /config for configuration settings. If you’re planning to store large amounts of data, consider mounting a separate storage volume at /srv as discussed in the prerequisites.
File Browser runs as USER-ID 1000 and GROUP-ID 1000 inside the container. We must set the correct ownership on our mounted directories so the application can read and write files properly. Without the proper permissions, File Browser won’t be able to access its storage locations.
mkdir -p /var/lib/dokku/data/storage/filebrowser/{data,database,config}
sudo chown -R 1000:1000 /var/lib/dokku/data/storage/filebrowser
dokku storage:mount filebrowser /var/lib/dokku/data/storage/filebrowser/data:/srv
dokku storage:mount filebrowser /var/lib/dokku/data/storage/filebrowser/database:/database
dokku storage:mount filebrowser /var/lib/dokku/data/storage/filebrowser/config:/config
Setup nginx Link to heading
Nginx has a default upload limit of 1MB for client-max-body-size, which would prevent us from uploading any files larger than 1MB to File Browser. Since the whole point of a file storage solution is to handle documents, images, videos, and other files that often exceed this limit, we need to remove this restriction.
Setting client-max-body-size to 0 disables the limit entirely, allowing us to upload files of any size (subject only to our server’s available disk space and timeout settings). This ensures File Browser can handle everything from small text documents to large video files or software packages without nginx rejecting the uploads.
dokku nginx:set filebrowser client-max-body-size 0
Setup docker-local scheduler Link to heading
The File Browser Docker image includes tini, a lightweight init system designed for containers. However, Dokku automatically adds the --init flag when running Docker containers, which conflicts with File Browser’s built-in tini process. This clash can cause the container to fail during startup.
To resolve this, we need to disable Dokku’s automatic init process for our File Browser app:
dokku scheduler-docker-local:set filebrowser init-process false
Note: This requirement is documented in Dokku’s scheduler documentation.
Disable zero-downtime Deployments Link to heading
Dokku normally performs zero-downtime deployments by starting new containers alongside old ones, then switching traffic once the new version is ready. However, File Browser uses a BoltDB database, and this uses an exclusive write lock on the database file so it cannot be shared by multiple processes.
During deployments, if both the old and new containers try to access the database, the new container will fail to start because it can’t acquire the necessary database lock. To avoid this conflict, we need to disable Dokku’s zero-downtime feature, ensuring the old container stops completely before the new one starts.
dokku checks:disable filebrowser
Trade-offs to consider:
- Downtime: We’ll experience a brief service interruption during deployments
- User Impact: Any active file uploads or downloads will be interrupted
For personal use or small teams, this occasional downtime is usually preferable to deployment failures.
Deployment of File Browser Link to heading
Finally the deployment is just a matter of using the available File Browser docker image:
dokku git:from-image filebrowser filebrowser/filebrowser
SSL Certificate Setup with Let’s Encrypt Link to heading
If you’re using a custom domain with Dokku’s virtual host routing, you’ll want to secure your File Browser instance with HTTPS.
Dokku includes a Let’s Encrypt plugin that automatically obtains and renews SSL certificates. Since your File Browser will be accessible at filebrowser.<YOUR_DOMAIN>, we need to configure Let’s Encrypt for this subdomain:
dokku letsencrypt:set filebrowser email <YOUR_EMAIL>
dokku letsencrypt:enable filebrowser
dokku letsencrypt:cron-job --add
With this, Dokku will automatically handle certificate renewal, so you won’t need to worry about manual certificate management.
Testing the file server Link to heading
Now we can check the logs to verify, that File Browser is up and running:
dokku logs filebrowser
2025-01-13[...]: Warning: filebrowser.db can't be found. Initialing in /database/
2025-01-13[...]: Using database: /database/filebrowser.db
2025-01-13[...]: Using config file: /config/settings.json
2025-01-13[...]: Performing quick setup
2025-01-13[...]: User 'admin' initialized with randomly generated password: xnXXxxXxXXnxxxXn
2025-01-13[...]: Listening on [::]:80
In the logs we also can find the randomly generated initial password for the admin account.
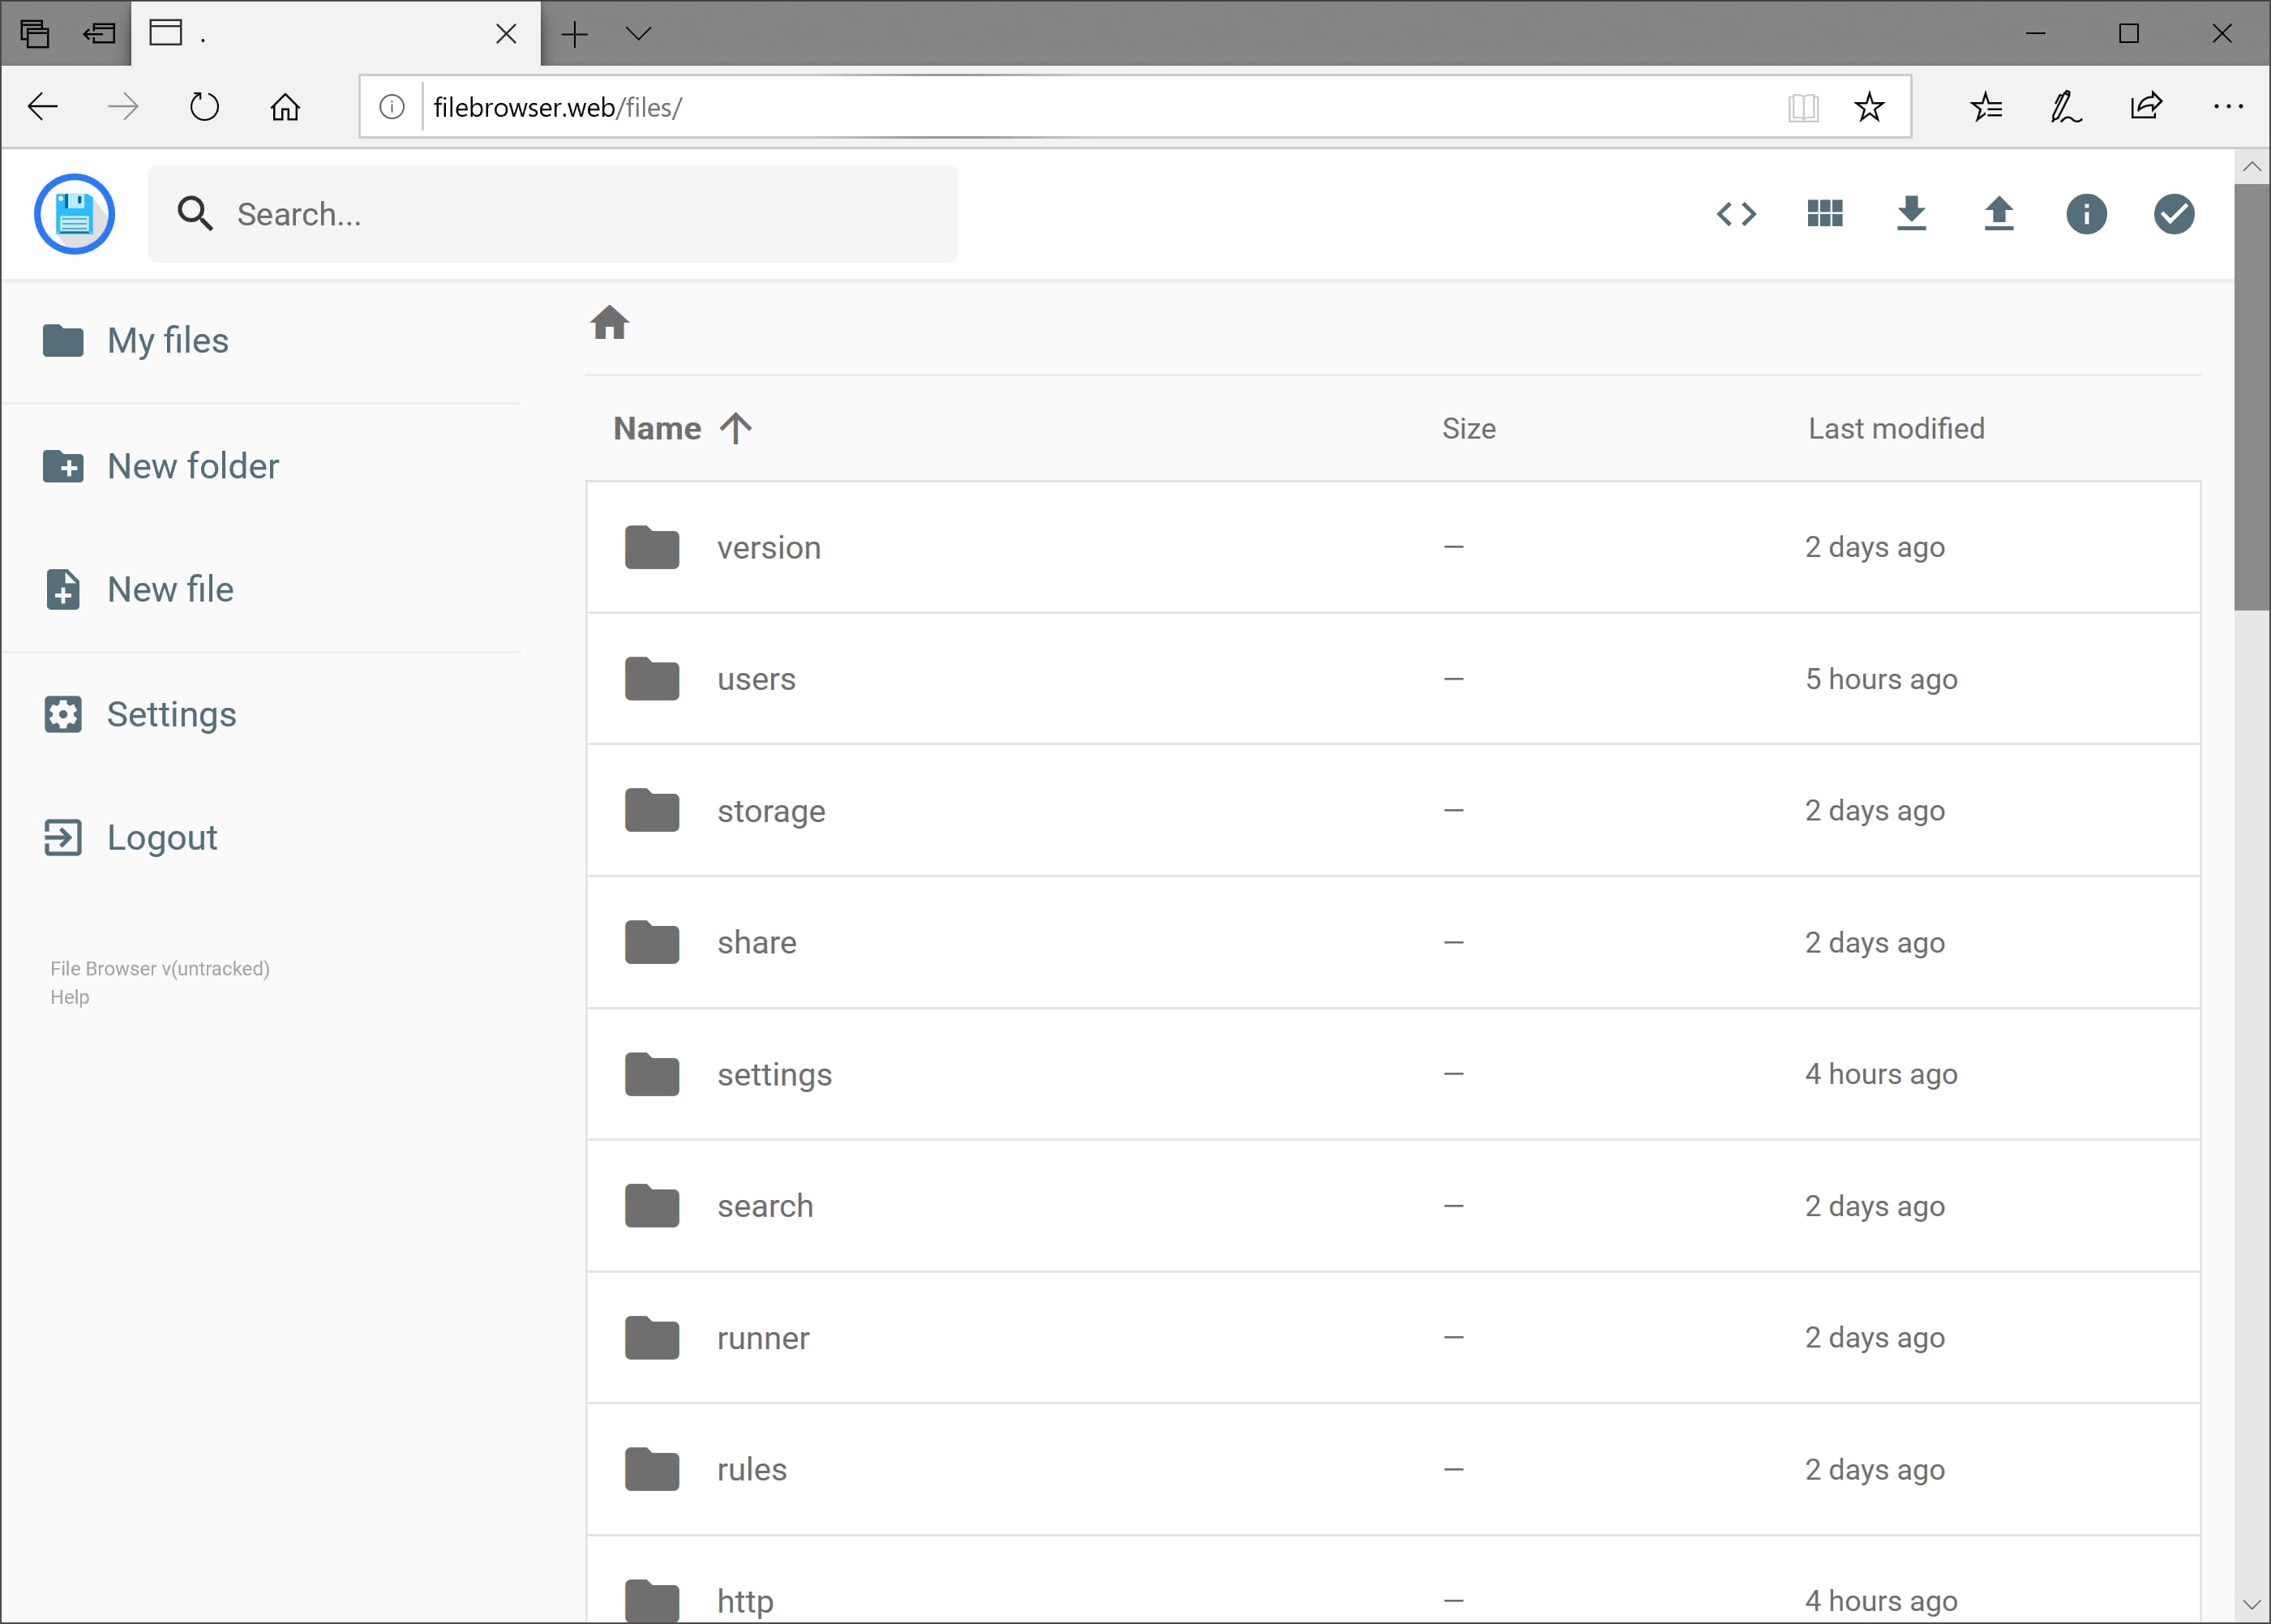
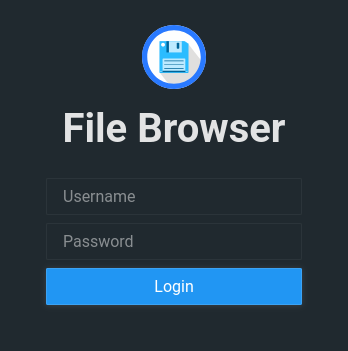
With that we should be able to connect to https://filebrowser.<YOUR_DOMAIN> using the admin account:
Upload/Download/Delete some files and create/delete a folder to see if the File Browser instance is fully operational.
Next Steps Link to heading
-
Change the admin password
It’s a good idea to change the initial admin password right after we checked, that the installation is fine.
-
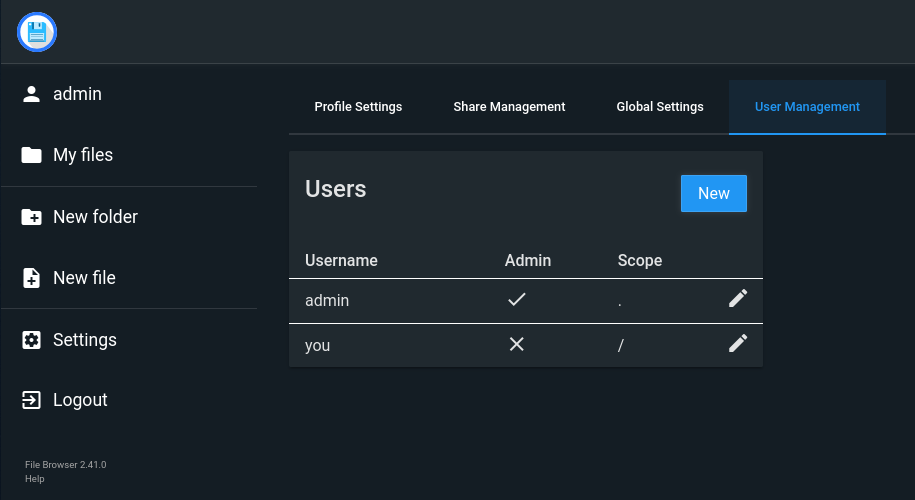
Add a new user account
We should add a new user account without administrator permissions for our regular work and keep the admin account just for administration tasks.
-
Secure Against Unauthorized Access When your File Browser instance will be accessible from the internet, it’s crucial to protect it against brute force attacks and unauthorised access attempts. Without proper security measures, attackers could potentially gain access to your files or overwhelm your server with login attempts.
-
Implementing Fail2Ban Protection The File Browser documentation recommends using fail2ban, a log-parsing application that monitors login attempts and automatically blocks suspicious IP addresses.
-
Use Strong Passwords Per default the minimum password length for File Browser is 12. You might even want to set this to a higher value in the settings and use strong passwords using a password manager like Bitwarden or KeePass.
-
-
Changing the user account File Browser runs under As mentioned in Setup the storage, File Browser will use PID/GID 1000. It’s likely, that you already have a user account with that pair of PID/GID. This user account could have access to the files created by File Browser. In this case you should consider changing the PID/GID of the originally existing user account or overriding the PID/GID that is used for File Browser in the docker container.
-
Set a quota for File Browser File Browser does not support per user disk quotas or any disk quota at all. To prevent your server to go down because File Browser using all the disk space for uploads, you could setup a quota for the user account File Browser runs under. Or use a separate partition or disk to hold all the File Browser files.
-
Backups You might want to setup a backup of the uploaded files and the File Browser database and the configuration.
Updating File Browser Link to heading
Although the project is in maintenance-only mode, there are still new releases coming. This is how you can update your instance of File Browser to the latest version:
docker pull filebrowser/filebrowser:latest
dokku ps:rebuild filebrowser
Congratulations! Link to heading
You now have your own private, self-hosted file storage solution running on Dokku. Your File Browser instance gives you complete control over your files with the freedom to store, organize, and share on your own terms. The beauty of this setup lies in its simplicity—it handles the essentials without overwhelming complexity. Enjoy the peace of mind that comes with knowing exactly where your files are and who has access to them.